

Not long ago, I was feeling frustrated, wondering how to set up Surfshark VPN on a Netgear router to protect all my devices at once. Whenever I heard about another data breach, I couldn’t shake the thought that my devices might be vulnerable too. I decided to take control and set up Surfshark VPN on my Netgear router. At first, I thought it would be too complicated. But once I did it, I felt a huge weight lifted off my shoulders. All my devices were protected, and I didn’t have to worry anymore. I want to share this with you and show you how easy it can be if you’re wondering how to set up Surfshark VPN on a Netgear router. Follow along, and you’ll feel that same relief too.
Let’s dive in!
Why Installing Surfshark VPN on Your Netgear Router Makes Sense
Learning how to set up Surfshark VPN on a Netgear router offers significant advantages that go beyond installing the VPN software on individual devices:
Key Benefits of Router-Level VPN Protection
- Network-Wide Security: Every connected device automatically gains VPN protection
- Device Compatibility: Protects devices that don’t support VPN apps (smart TVs, gaming consoles, IoT gadgets)
- Single Configuration: Configure once for all devices, rather than setting up VPN on each one
- Always-On Protection: Continuous protection without needing to remember to activate the VPN
- Guest Device Security: Visitors’ devices are automatically protected when using your network
Unlike device-specific VPN installations, a router-level configuration ensures that all internet traffic leaving your network is encrypted and protected. This means your smart home devices, IoT gadgets, and even devices belonging to guests will benefit from enhanced security and privacy.
“Installing a VPN on your router is like building a security perimeter around your entire digital home, rather than individually securing each room.” – Cybersecurity Expert

Prerequisites: What You’ll Need
Before beginning the process of how to set up Surfshark VPN on a Netgear router, gather these essential items:
| Requirement | Details |
|---|---|
| Compatible Netgear Router | Not all models support VPN configurations (see compatibility section below) |
| Active Surfshark Subscription | Make sure your account is active and you can access the Surfshark dashboard |
| Admin Credentials | Your router’s admin username and password |
| Backup of Current Settings | Recommended to backup your router configuration before making changes |
| Stable Internet Connection | To download configuration files and complete the setup process |
Pro Tip: Before starting the configuration process, make sure to note down your current network settings. This will help you revert changes if needed.
Compatibility Check: Is Your Netgear Router Supported?
Before learning how to set up Surfshark VPN on a Netgear router, you need to know if your model is compatible. Not all Netgear routers support VPN client functionality out of the box. Here’s how to determine if your model is compatible with Surfshark:
Netgear Models Known to Work with Surfshark
- Nighthawk Series: R7000, R7000P, R7800, R8000, R9000
- Other Compatible Models: R6300v2, R6400v2, R6700v3
- Business Models: Most Netgear business routers with OpenVPN client capability
How to Check Your Router’s Compatibility:
- Physical Inspection: Look at the model number printed on your router
- Router Admin Panel: Log into your router interface and check the model information
- Firmware Version Check: Ensure your router is running the latest firmware
- Check for VPN Client Support: Navigate to Advanced Setup in your router settings and look for VPN Client or OpenVPN options
Note: Some older Netgear models may require third-party firmware (like DD-WRT, Tomato, or AsusWRT-Merlin) to support VPN client functionality. While this is an option, be aware that installing third-party firmware may void your warranty.
Step-by-Step Setup Guide
Follow these detailed steps on how to set up Surfshark VPN on a Netgear router:
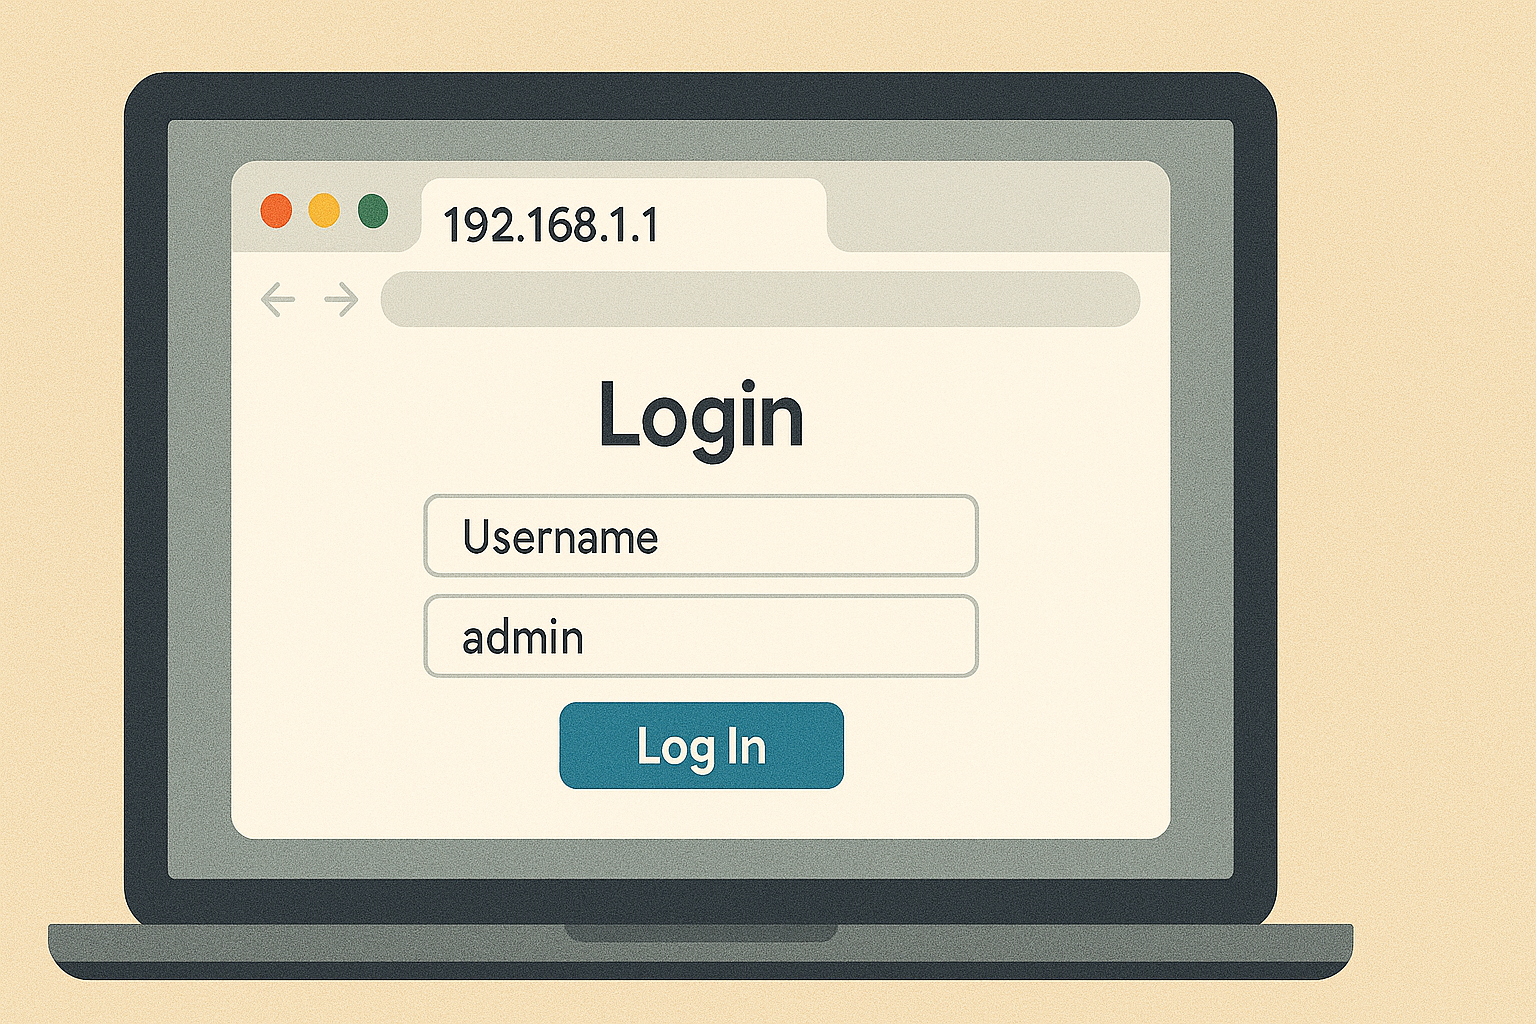
Step 1: Access Your Router’s Admin Panel
- Connect to your home network (wired connection recommended for stability)
- Open a web browser and enter your router’s IP address in the address bar
- Most Netgear routers use
192.168.1.1or192.168.0.1as the default address
- Enter your admin credentials when prompted
- Default credentials are often “admin” for username and “password” for password unless you’ve changed them
- Navigate to the dashboard and familiarize yourself with the layout
Step 2: Obtain Surfshark OpenVPN Configuration Files
- Log into your Surfshark account at https://surfshark.com/
- Navigate to VPN > Manual Setup > Router > OpenVPN
- Generate your credentials and save them securely
- Choose a server location from the dropdown menu
- Download the configuration files (.ovpn) for your selected server
- Save the configuration files to an easily accessible location on your computer
Important: Make sure to keep your Surfshark credentials secure. Anyone with these credentials could potentially access your VPN account.
Step 3: Configure OpenVPN on Your Netgear Router
Understanding how to set up Surfshark VPN on a Netgear router varies slightly depending on your router’s firmware:
For standard Netgear firmware (most common):
- In your router admin panel, navigate to Advanced > Advanced Setup > VPN Service
- Enable VPN Service by checking the box and click Apply
- Select OpenVPN as the VPN Type (if prompted)
- Navigate to VPN Client settings or similar option
- Upload the .ovpn configuration file you downloaded from Surfshark
- Enter your Surfshark credentials when prompted
- Set the connection to Automatic so it connects on router startup
- Apply the settings and wait for the router to establish connection
For Netgear routers with DumaOS (like Nighthawk Pro Gaming series):
- Navigate to VPN > HybridVPN or similar option
- Enable VPN and select OpenVPN as the type
- Import the Surfshark configuration files
- Enter your Surfshark credentials
- Apply settings and verify connection
Step 4: Verify Your VPN Connection
- Check connection status in your router interface
- Visit whatismyip.com from a connected device
- Confirm your IP address shows a location matching your selected Surfshark server
- Test basic functionality by browsing websites
- Test geo-restricted content if that’s one of your use cases
Troubleshooting Common Issues
Even with careful attention to how to set up Surfshark VPN on a Netgear router, you might encounter some challenges. Here’s how to address common problems:
| Problem | Possible Causes | Solutions |
|---|---|---|
| VPN won’t connect | Incorrect credentials, outdated firmware, server issues | Double-check your Surfshark credentials Update router firmware to latest version Try connecting to a different Surfshark server |
| Connection keeps dropping | Network instability, server overload, configuration issues | Change to a closer server location Check for firmware updates Adjust MTU settings (advanced) |
| Very slow internet speeds | Server congestion, encryption overhead, router limitations | Try different server locations Change encryption settings if possible Consider a more powerful router for better throughput |
| Can’t access certain websites | Website blocking VPN traffic, DNS issues | Try different server locations Change DNS settings on the router Use Surfshark’s NoBorders mode |
Advanced Troubleshooting Tip: For persistent connection issues, check your router’s system logs. These often contain valuable information that can help identify the root cause of problems.
Optimizing Your VPN Connection for Better Speed
After learning how to set up Surfshark VPN on a Netgear router, you’ll want to optimize performance. Using a VPN typically results in some speed reduction due to encryption overhead and routing changes. However, you can minimize this impact with these optimization techniques:
1. Select Optimal Server Locations
- Choose servers geographically close to your physical location
- Avoid overcrowded servers during peak hours
- Use the Surfshark fastest server option when possible
2. Adjust VPN Protocol Settings
- Try different protocols if your router supports them:
- OpenVPN UDP (faster but less stable)
- OpenVPN TCP (more stable but slower)
- WireGuard® (if supported, offers best balance of speed and security)
3. Optimize Router Settings
- Update router firmware to the latest version
- Use wired connections for bandwidth-intensive devices
- Adjust QoS (Quality of Service) settings to prioritize important traffic
- Consider a router upgrade if your current device has limited processing power
Pro Tip: If you use streaming services extensively, consider setting up split tunneling on selected devices rather than routing all traffic through the VPN. This can significantly improve performance for high-bandwidth applications.
Advanced Features and Configurations
Once you’ve mastered how to set up Surfshark VPN on a Netgear router and have basic functionality working, consider these advanced configurations:
Split Tunneling at the Router Level
Some advanced router setups allow you to specify which devices or services bypass the VPN:
- Identify device MAC addresses you want to exclude from VPN routing
- Configure routing rules in your router’s advanced settings
- Test each configuration to ensure proper functioning
Scheduled VPN Connections
DNS Configuration Options
Properly configured DNS can improve both security and performance:
- Use Surfshark’s DNS servers for enhanced privacy
- Consider custom DNS rules for specific domains
- Test DNS leak protection to ensure your queries are secure
Some routers allow scheduling when the VPN is active:
- Set time-based rules for VPN activation
- Create exceptions for specific times or days
- Schedule regular reconnections to maintain fresh IP addresses
Final Thoughts
Learning how to set up Surfshark VPN on a Netgear router might seem daunting at first, but the benefits far outweigh the initial setup effort. Once configured, you’ll enjoy comprehensive protection for all your connected devices without needing to manage individual VPN installations.
Remember:
- Regularly update both your router firmware and VPN configurations
- Test your connection periodically to ensure it’s working properly
- Keep your Surfshark subscription active to maintain protection
- Consider a more powerful router if you experience performance issues with many connected devices
By following the steps in this guide, you’ve taken an important step toward securing your entire digital home. The peace of mind that comes from knowing all your devices are protected is truly invaluable in today’s increasingly vulnerable online world.
Frequently Asked Questions
Does using Surfshark on my router count as one device toward my device limit?
Surfshark has no device limit, so this isn’t a concern. One subscription covers unlimited devices, whether connected individually or through your router.
Will a VPN on my router slow down my internet?
Yes, there will be some speed reduction due to encryption overhead. The impact depends on your router’s processing power, the VPN protocol used, and server location. Most modern routers can handle VPN connections with minimal noticeable impact for general browsing.
Can I still access local devices with a VPN enabled?
In most configurations, local network devices remain accessible. However, some setups might require adjustments to ensure proper local network discovery.
What if my Netgear router doesn’t support VPN client functionality?
You have several options: upgrade to a compatible router, install third-party firmware (if supported), or use a secondary VPN router behind your main router.
Ready to secure your entire network?
Take control of your online privacy today by learning how to set up Surfshark VPN on a Netgear router. Follow our step-by-step guide and enjoy comprehensive protection for all your connected devices.


